
If you have old t-shirts check out this fun craft. Instead of just tossing them out if the clothes aren’t good enough to donate, this is an easy way to upcycle them. Every rug is different, from the shape (squares, rectangles or circles) to the weight and width. Because of that, there is no set “pattern” for making them.
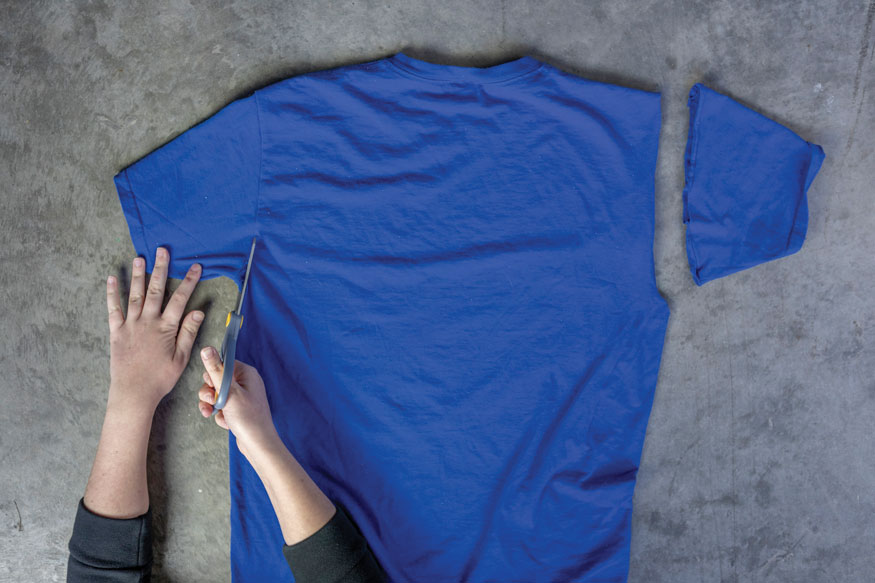
Cut your fabric into even strips along the body of the t-shirt. (Note: cut the sleeves off first and cut down one side of the t-shirt to open it up and have one large piece of fabric.)
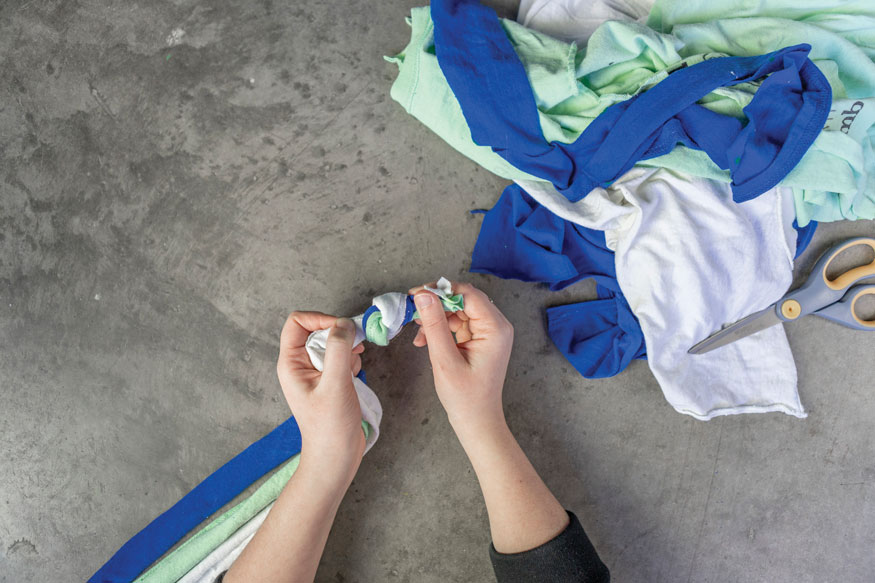
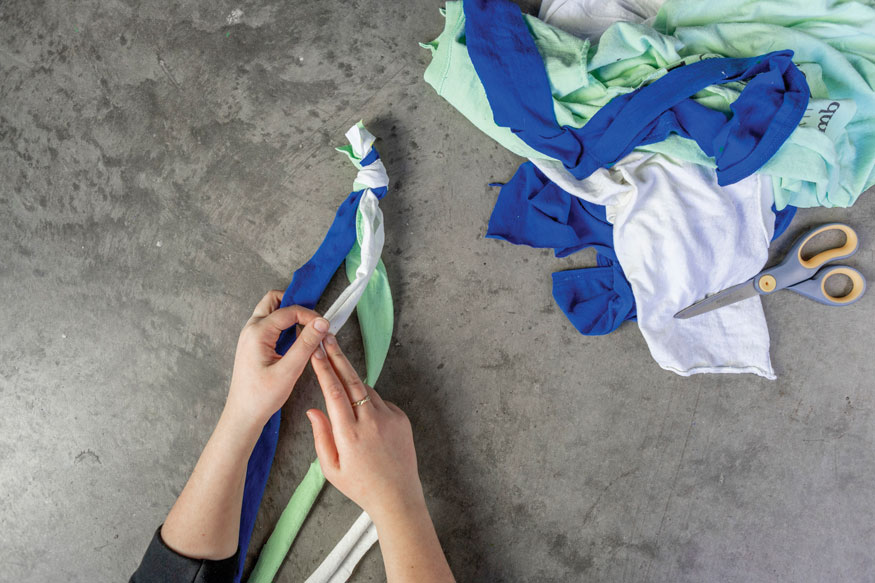
Separate your fabric into three piles by color. Grabbing a strand from each, start braiding the materials together. You will need to tie a knot at the top to keep the fabric together.
After braiding about four inches, grab the strand closest to the center and pass it under through one of the loops in the coiled braid.
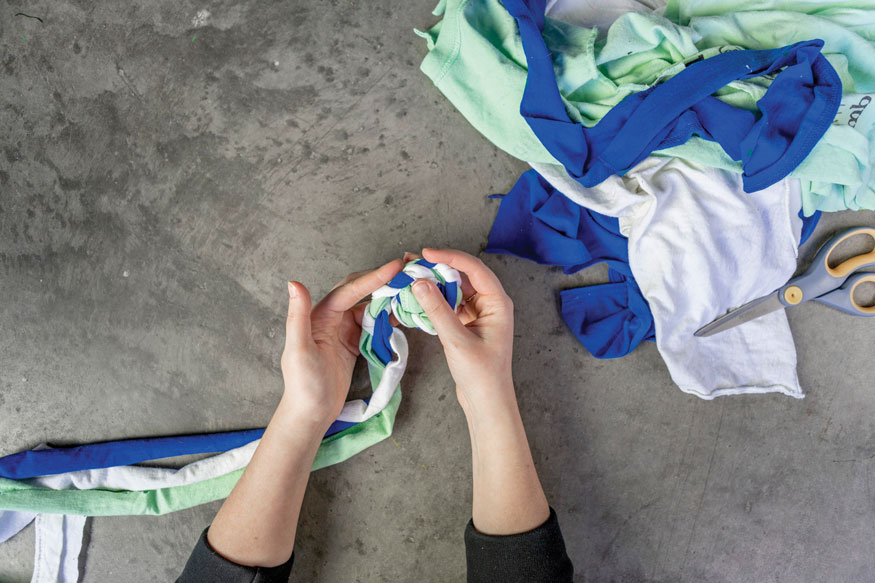
Keep braiding and looping your material into the coil every few inches.

To add new strips you can either knot the strands together or use this method which is a little cleaner. Fold over the end of the strand that you need to lengthen and cut a small slit into the center. Do the same with the new fabric you are attaching. Line up the slits, and take the end of the fabric around through the back of the hole and pull it through. Pull-on both slightly to tighten the link.

Once you’ve made the rug to the desired size finish braiding the materials and knot each strand of the material into the coil.
Don’t be too concerned with mistakes or having it lie perfectly flat. If your rug isn’t laying flat when you finish and you don’t want to pull anything out, wash your rug in warm water with extra fabric softener
and lay flat to dry with the ends pinned down.
Tutorial by Sarah Richards